I bet few years back folks didn’t expect that by 2024 we would be able to provision OCI resources in other clouds. Last year the announcement for Azure and this year announcements for GCP and AWS have been really exciting and I think long term they’ll have a positive impact with Oracle’s reputation also.
One thing I’ve seen with these announcements is that there’s way more interest to Autonomous Database now! Since I’ve been looking a lot on Oracle Database@GCP past week, I decided to try and provision Oracle Autonomous Database (ADB) – Serverless on GCP.
Reason I also chose ADB is that GCP supports pay-as-you-go model, so you don’t have to have contract with Oracle before you provision the database.
Below will be my experience on provisioning the database and what steps I had to take.
Google documentation: https://cloud.google.com/oracle/database/docs
Oracle documentation: https://docs.oracle.com/en-us/iaas/Content/database-at-gcp/oagcp.htm
Enabling the Service
I already had a GCP account which I used for this purpose, I started by going to Oracle Database@Google Marketplace offering.
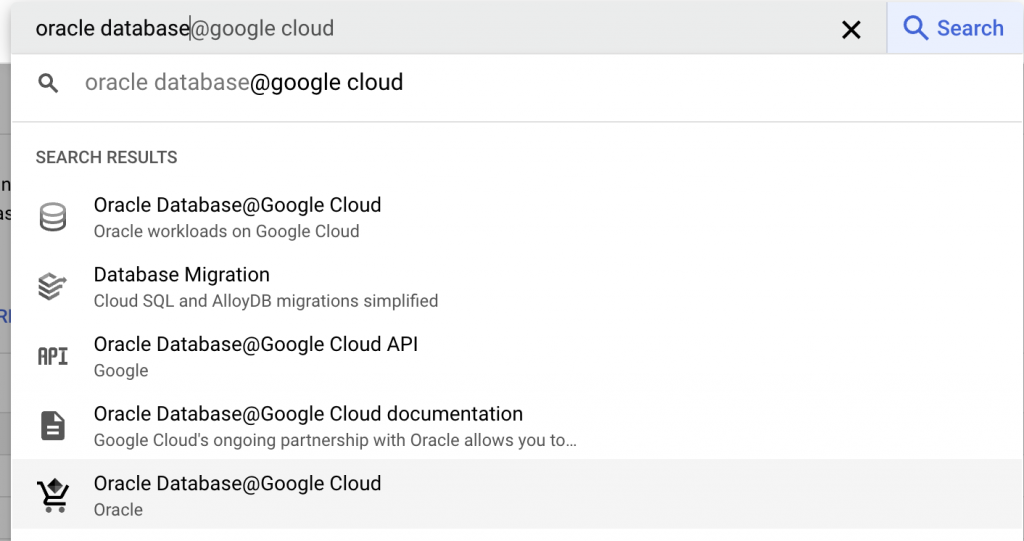
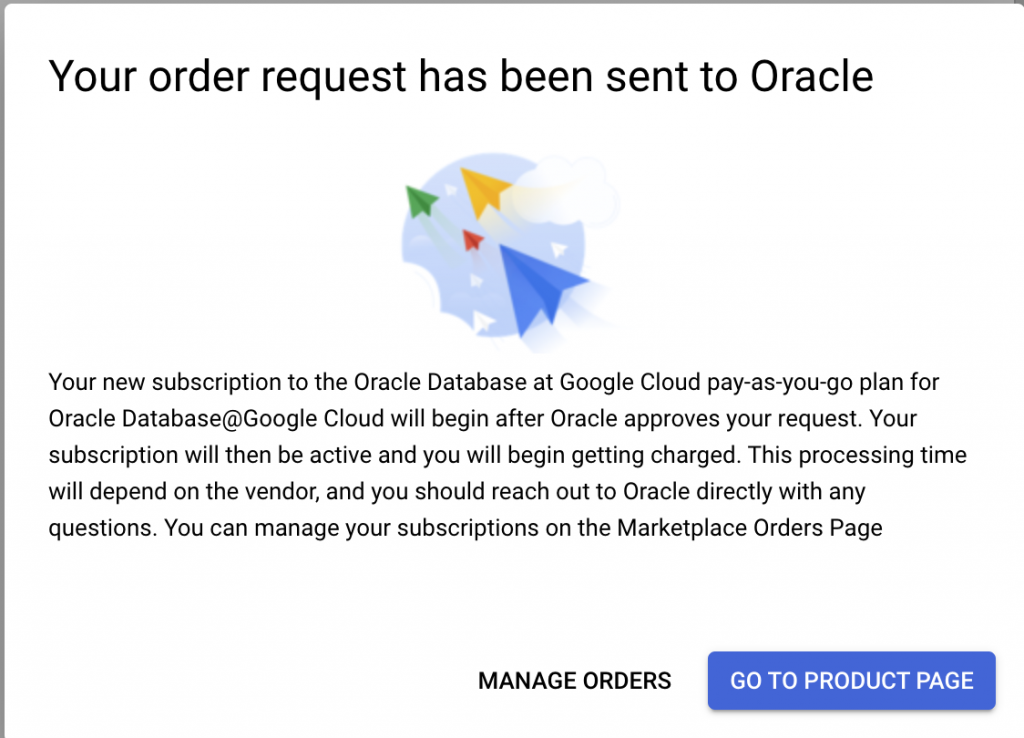
Then after opening the product page, I could subscribe to the service. No worries, nothing gets charged at this stage!

After subscribing, the request went for approval and took maybe a day to get approved.
I don’t think I got any approval email but after a while when navigating to the the actual Oracle Database@Google page. I saw that the Create Account button has become visible.
So what’s that? You will need to have Oracle OCI tenancy created as part of the process. Fear none! I did not have to enter my credit card during the process, the OCI tenancy is mostly for Control plan to work as you will see the same database created in OCI even though it resides in GCP Region. What I’ve understood is that it just makes the setup/management easier rather than rewriting everything from scratch.

Once I started the Oracle tenancy creation, it was just like any normal OCI tenancy creation – process takes maybe five minutes max. The actual tenancy creation in the background took like 1-2 hours. After it’s created, you will get an email and you will also be able to login to your OCI tenancy if you want.
It’ll be also automatically linked to your GCP account! No action needed there.
Pre-requisites for provisioning ADB
Now reading the Oracle documentation, there weren’t many pre-reqs for Autonomous Database. Mainly just setting up VPC where Autonomous Database gets provisioned. I did also setup subnet for the autonomous because that’s what you do also in OCI. Note, please don’t do it in GCP!

After that I was ready to provision my first Autonomous Database!
Provisioning ADB – try 1
What’s really cool is that you can provision ADB from the GCP Console (or using their APIs). If you’ve provisioned ADB ever before, you will need to provide same info as you would provision database in OCI as well.


You can see I entered ECPUs, storage, name for database, backup retention, scaling etc. I did also enter VPC I had created + CIDR range which matched the subnet I had created earlier (wrong!). I modified backup settings to have one day of backups only as well.
After that, I pushed create!

It took maybe five minutes for creation to get to 100% but as you can see below, it never got allocated any ECPUs. I did try to provision another database as well but same thing happened.

After two hours, I finally got the error why it failed.

So to summarize, do not create subnet for Autonomous DB! Allocate minimum of /27 CIDR blocks for Autonomous Database.
Provisioning ADB – try 2
After figuring out the error, I retried and voila! In just few minutes, I had ADB running on GCP. No other changes needed apart from deleting the subnet I had created.


You’ll see basic information on GCP Console but on top of the page there’s a link to go and manage the database in OCI.
Network information has the subnet and private endpoint information there. You can see they create also private endpoint URL so that hostname is available from your GCP VCP.
You’ll have all the normal OCI Console access to manage your Autonomous Database after you go there. What was interesting, was to see how compartments and groups etc. all had been auto-created in OCI as well as the overlay networking. Let’s see!

What’s interesting here is to see the ADB3 subscription type being Google Cloud.
Also, if you look compartment, there’s automatic compartment created for MulticloudLink + also, child compartment for this database. I would guess other DB’s get their own compartment always when needed.
Finally, I didn’t choose any DR but by default there’s local backup based DR which is nice to highlight here. All the normal OCI links are available, like database tools and performance hub. Pretty cool!

There’s also bunch of groups and policies created automatically, I didn’t use them for this test but they would be there if you would want to add read only users for example.
Summary
This was my first time provisioning Autonomous Database on GCP and I’d say it was fairly smooth experience! Enabling the service was probably the biggest thing which took time but after that, the actual provisioning of Autonomous Database was smooth.
Suggestion is to read documentation so you don’t miss details like entering free CIDR block from VPC!
Next time I’ll try out how to access Autonomous Database from my GCP VPC.
Some tips : Things to ensure when trying to connect to the ADBS instance:
1. Ensure you open up the VPC ingress and egress firewall rules to allow traffic to / from the VPC subnet to the VCN subnet
2. Ensure you add the VPC subnets to the ingress rules in the NSG associated to the ADB instance in the OCI VCN
Let me know if this works (I was port of the team that implemented this)
Thanks Arun, and awesome work getting it to GA! Next post will be on connecting to ADB 🙂
ADB shared privisioning with private endpoint ok.
the only problem is…..cannot bloody connect to ADB..